Rendering Objects in Godot That Don't Exist
Published • Last Updated • 3 minutes
Rendering Objects in Godot That Don’t Exist
My fascination with rendering meshes without nodes first started with Unity (GameObjects), and I’ve been chasing that high ever since I switched to Godot. Turns out it works in Godot in a very similar way to Unity: the game engine takes a mesh and batch renders it using an array of transforms and a material.
Rendering a Single Mesh
In this example, we export two variables, a mesh and a material, to be modified on the script attached to a root node. These objects can be either a built-in object (BoxMesh or StandardMaterial3D) or an asset already in your project.
The script stores a reference to a RID (resource ID) object, which will be used to render the mesh and material. We then create that object using RenderingServer.instance_create and attach the mesh, material, and default transform to it.
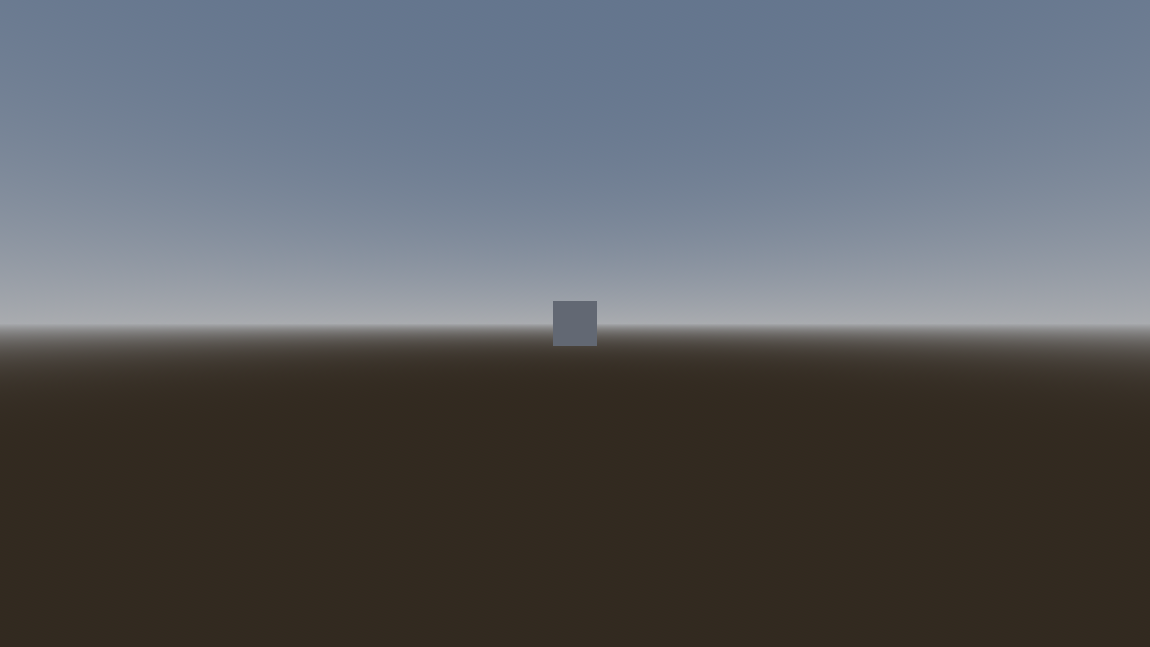
This will render a single cube in your scene. If you can’t see it, you might need to reposition your camera to see an object sitting at the origin.
extends Node3D

@export var mesh: Mesh
@export var material: Material

var instance: RID

func _ready() -> void:
	instance = RenderingServer.instance_create()

	RenderingServer.instance_set_base(instance, mesh)
	RenderingServer.instance_set_scenario(instance, get_world_3d().scenario)
	RenderingServer.instance_geometry_set_material_override(instance, material)
	RenderingServer.instance_set_transform(instance, Transform3D.IDENTITY)

func _exit_tree() -> void:
	if instance.is_valid():
		RenderingServer.free_rid(instance)
Rendering Multiple Meshes
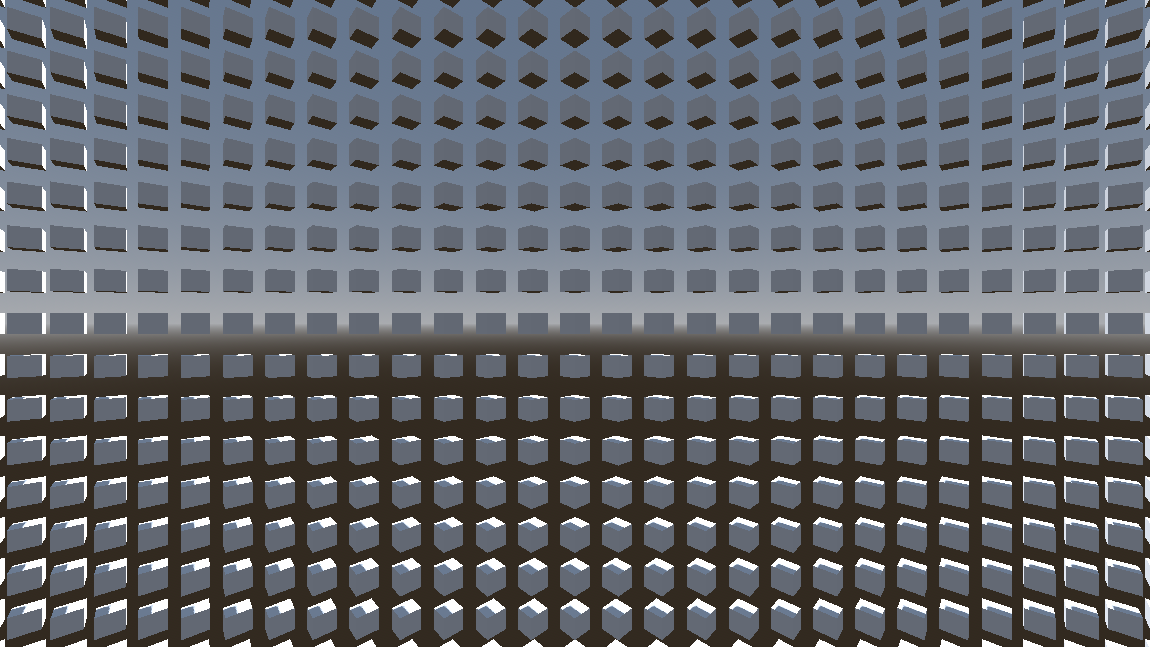
This example gets a bit more complicated as we create and store multiple instances of the object used to render meshes, as well as a corresponding transform, so we can position objects in different locations as well as update those positions in the _process loop.
The _ready method contains logic for generating a large number of mesh renderers in a grid and adds them to the instances variable.
The _process method updates the transforms of the mesh renderers to rotate them on each game tick, updating each instance with the newly modified transform.
extends Node3D

@export var mesh: Mesh
@export var material: Material

var instances: Dictionary[RID, Transform3D]

var size: int = 100
var local_scale: Vector3 = Vector3.ONE / 2

func _ready() -> void:
	var scenario := get_world_3d().scenario

	for x: int in range(-size, size):
		for y: int in range(-size, size):
			var instance := RenderingServer.instance_create()

			RenderingServer.instance_set_base(instance, mesh)
			RenderingServer.instance_set_scenario(instance, scenario)
			RenderingServer.instance_geometry_set_material_override(instance, material)

			var local_transform := Transform3D(
				Basis.IDENTITY.scaled(local_scale), Vector3(x, y, 0)
			)

			RenderingServer.instance_set_transform(instance, local_transform)

			instances[instance] = local_transform

func _process(delta: float) -> void:
	var rotation_basis := Basis(Vector3.UP, 1.0 * delta)

	for instance: RID in instances.keys():
		instances[instance].basis = rotation_basis * instances[instance].basis
		RenderingServer.instance_set_transform(instance, instances[instance])

func _exit_tree() -> void:
	for instance: RID in instances.keys():
		if instance.is_valid():
			RenderingServer.free_rid(instance)
Rendering Multiple Meshes in Batches
This is where it gets fun. Up until now, we were creating an object to render a single mesh and needing to keep a reference to it. That works for a small number of meshes, but if you need hundreds or thousands, you probably want to batch them. That's where MultiMesh and MultiMeshInstance3D come into play.
Things are set up in a similar way to the previous example, but in this case, we are only storing transforms and not a mesh renderer for each object.
On _ready we are creating a MultiMesh object and attaching the mesh to it. Then we set the material on the MultiMeshInstance3D node (what the script needs to be attached to). And just like before, we create a grid of transforms and store them in an array. For each item in the array, we update the corresponding item in the MultiMesh with that transform.
The _process method updates the transforms of the mesh renderers to rotate them on each game tick, updating each mesh item with the newly modified transform.
extends MultiMeshInstance3D

@export var mesh: Mesh
@export var material: Material

var transforms: Array[Transform3D] = []
var current_rotation: float = 0.0

var size: int = 100
var total_instances: int = (size * 2) * (size * 2)

func _ready() -> void:
	multimesh = MultiMesh.new()
	multimesh.transform_format = MultiMesh.TRANSFORM_3D

	multimesh.mesh = mesh
	multimesh.instance_count = total_instances

	transforms.resize(total_instances)

	material_override = material

	var index: int = 0
	var local_scale: Vector3 = Vector3.ONE / 2

	for x: int in range(-size, size):
		for y: int in range(-size, size):
			transforms[index] = Transform3D(
				Basis.IDENTITY.scaled(local_scale),
				Vector3(x, y, 0)
			)

			multimesh.set_instance_transform(index, transforms[index])
			index += 1

func _process(delta: float) -> void:
	current_rotation += 1.0 * delta

	var rotation_basis := Basis(Vector3.UP, current_rotation)

	for i: int in range(multimesh.instance_count):
		var rotated_transform := transforms[i]
		rotated_transform.basis = rotation_basis * rotated_transform.basis
		multimesh.set_instance_transform(i, rotated_transform)
(Yep, it's the same photo as above because it renders the exact same objects in the same positions.)
Final Thoughts
So far, I've really enjoyed working with Godot in this way. Sure, I still create 3D nodes in the "normal" way, but if I know that I need to render a large number of meshes and I need to squeeze as much performance out of my game as possible, I'll look into rendering them using one of these workflows.
If you want to give this code a try without needing to set up your own project, the GitHub repo https://github.com/neogeek/Rendering-Objects-in-Godot-That-Dont-Exist contains all of this code and demo scenes.